Plugin Development
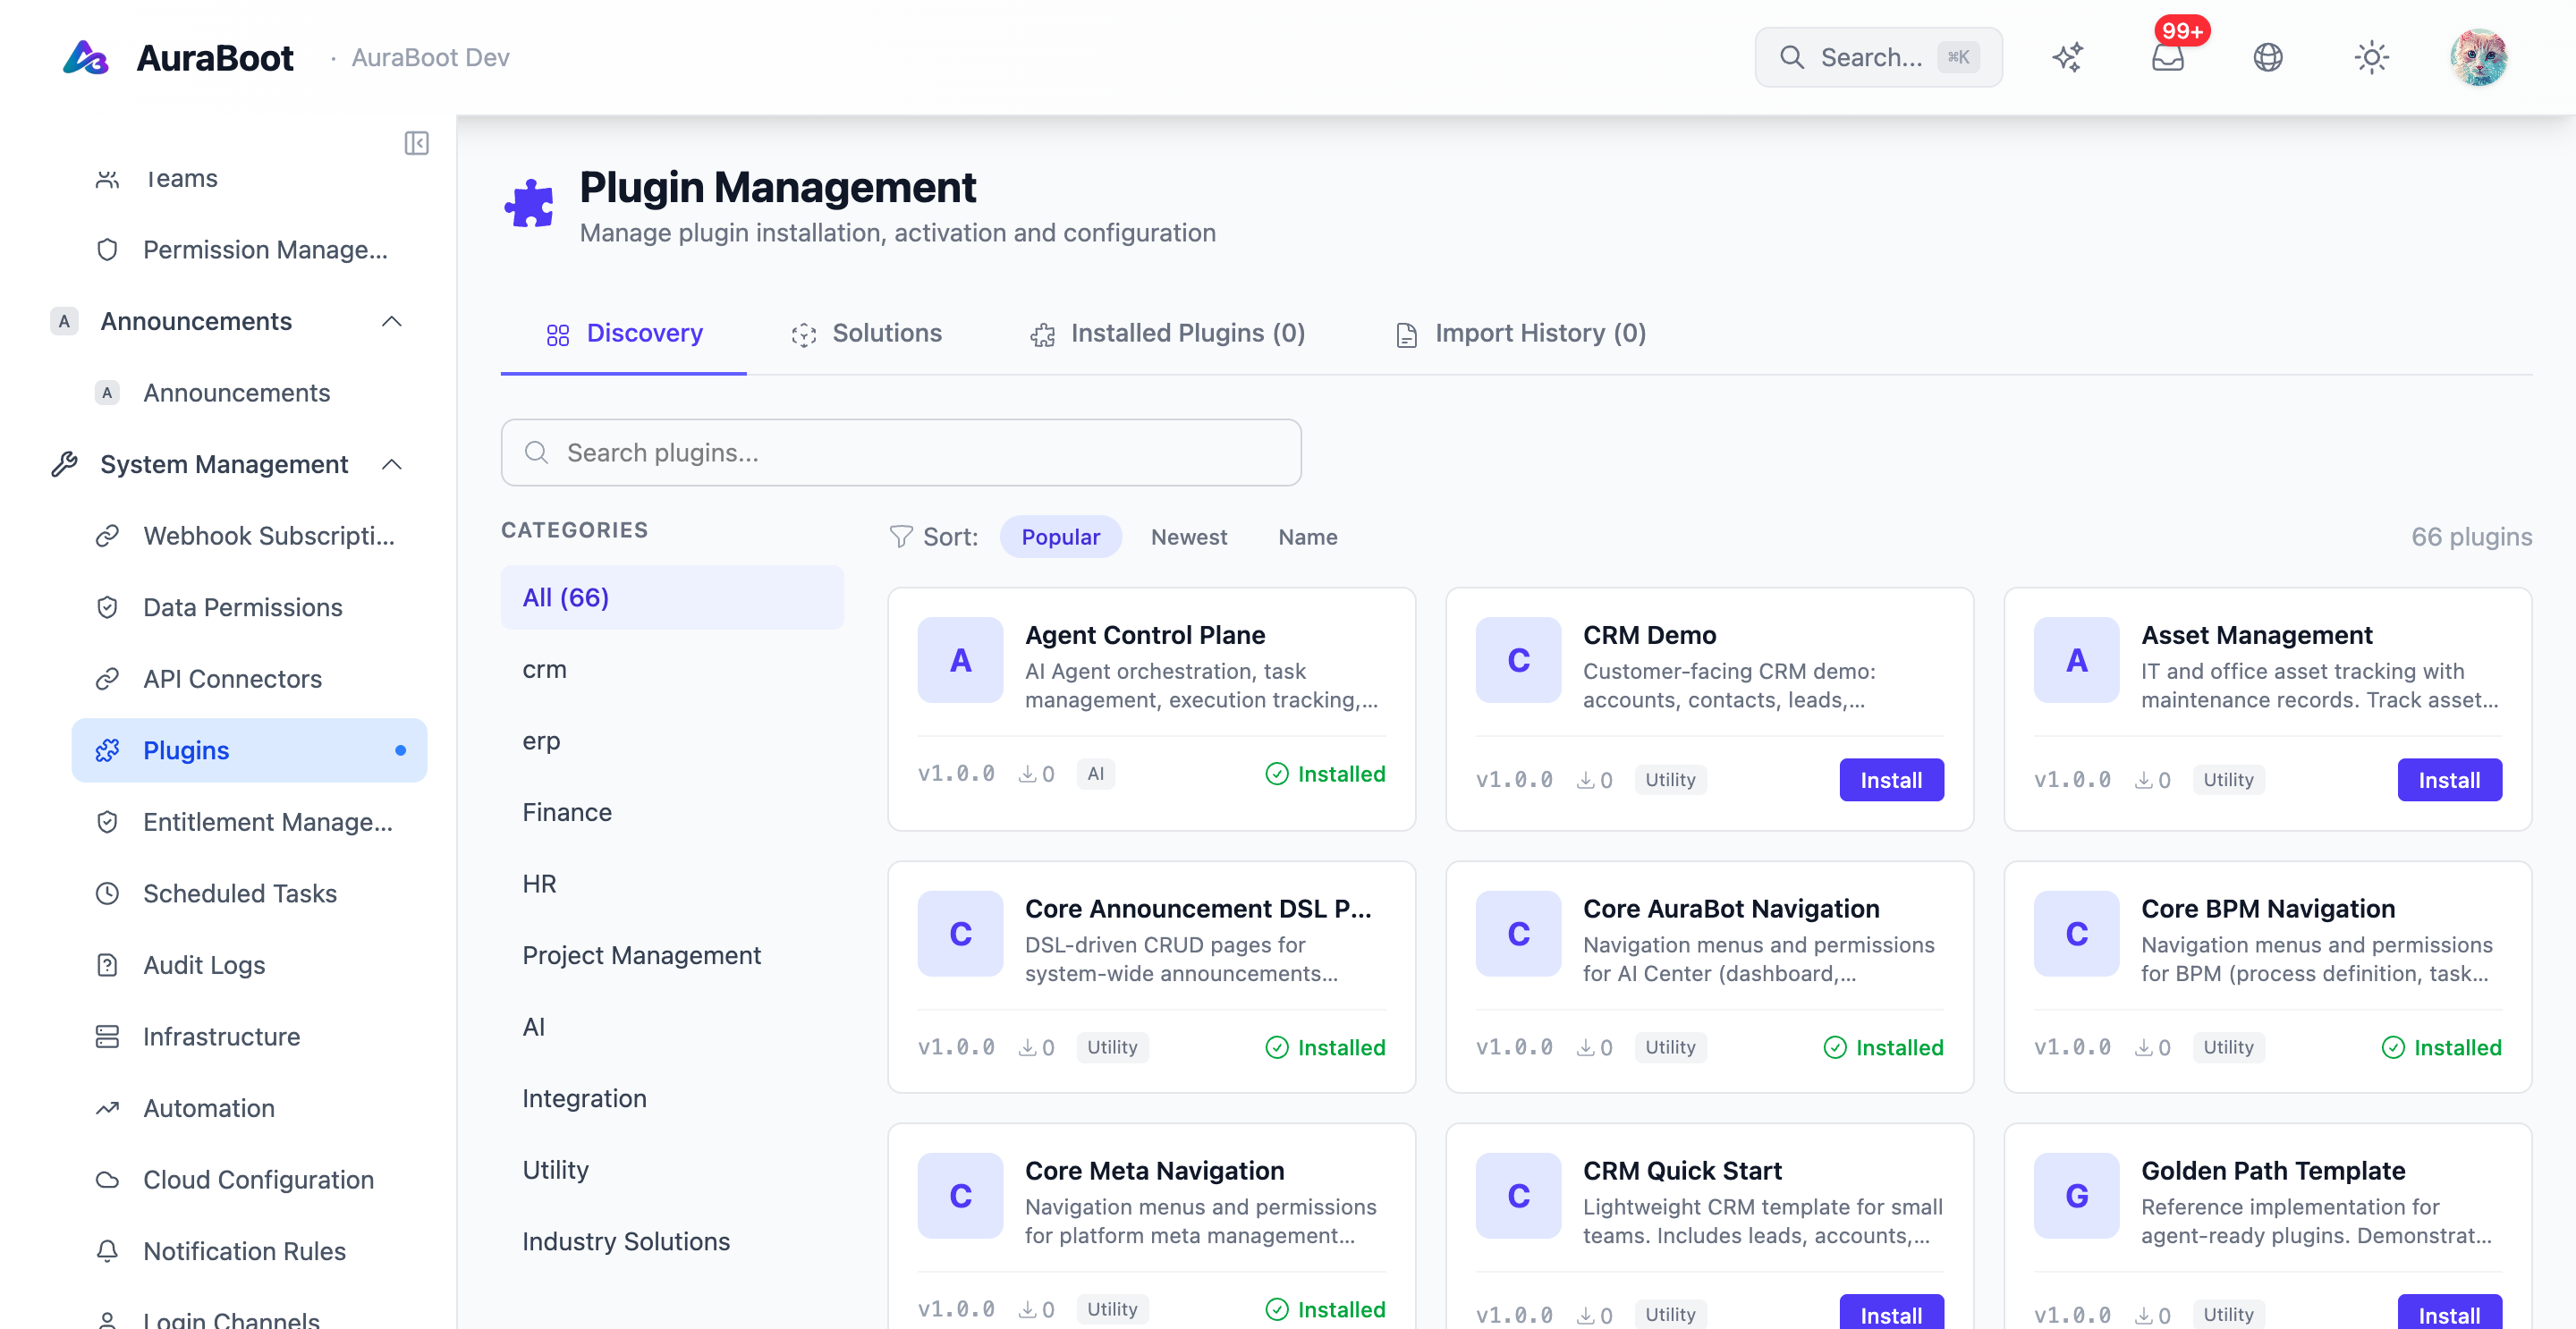
Plugins are the packaging unit for AuraBoot business capabilities. A plugin can contain models, dictionaries, commands, pages, menus, permissions, data sources, i18n files, and optional backend or frontend extensions.
For most business modules, start with a config-only plugin. Add Java or React extensions only when the module needs behavior that cannot be expressed with DSL resources.
What a plugin contains
plugins/crm-starter/
  plugin.json
  models/
  commands/
  pages/
  dictionaries/
  datasources/
  menus.json
  permissions.json
  default-bootstrap.json
i18n/| Resource | Purpose |
|---|---|
plugin.json | Manifest, version, dependencies, resource locations |
models | Business data structures |
commands | Create, update, delete, transition, or custom operations |
pages | List, form, detail, and dashboard schemas |
dictionaries | Controlled values for selects and statuses |
datasources | Query definitions for dashboards or reports |
menus.json | Navigation entries |
permissions.json | Access control definitions |
default-bootstrap.json | Initial role and permission assignments |
i18n | Localized labels |
Manifest
{
  "pluginId": "com.example.crm-starter",
  "namespace": "crm",
  "version": "1.0.0",
  "displayName:en": "CRM Starter",
  "description": "Lead and account management module",
  "author": "Example Team",
  "minPlatformVersion": "1.0.0",
  "dependencies": [],
  "resourceDirs": {
    "models": "models",
    "commands": "commands",
    "pages": "pages",
    "dicts": "dictionaries",
    "menus": "menus.json",
    "permissions": "permissions.json",
    "roles": "default-bootstrap.json"
  }
}Use a stable pluginId. It becomes part of upgrade, dependency, and marketplace behavior. Use namespace to keep model, command, page, and permission codes organized.
Development flow
Create manifest
  -> add dictionary values
  -> add models
  -> add commands
  -> add pages
  -> register menus and permissions
  -> validate plugin
  -> publish plugin
-> verify generated UIThis order catches errors early. Do not wait until the end to import all resources for the first time.
Example task model
{
  "code": "pm_task",
  "name": "Task",
  "type": "entity",
  "fields": [
    { "code": "title", "name": "Title", "dataType": "text", "required": true },
    { "code": "description", "name": "Description", "dataType": "long_text" },
    { "code": "status", "name": "Status", "dataType": "dict", "dictCode": "pm_task_status" },
    { "code": "priority", "name": "Priority", "dataType": "dict", "dictCode": "pm_task_priority" },
    { "code": "assignee", "name": "Assignee", "dataType": "reference", "refModelCode": "sys_user" },
    { "code": "due_date", "name": "Due Date", "dataType": "date" }
  ]
}Example create command
{
  "code": "create_pm_task",
  "name": "Create Task",
  "modelCode": "pm_task",
  "type": "create",
  "fields": [
    { "fieldCode": "title", "required": true },
    { "fieldCode": "description" },
    { "fieldCode": "status", "defaultValue": "todo", "readonly": true },
    { "fieldCode": "priority", "defaultValue": "medium" },
    { "fieldCode": "assignee" },
    { "fieldCode": "due_date" }
  ]
}Example list page
{
  "code": "pm_task_list",
  "name": "Tasks",
  "modelCode": "pm_task",
  "pageType": "list",
  "schema": {
    "toolbar": {
      "actions": [
        { "type": "command", "commandCode": "create_pm_task", "label": "New Task" }
      ]
    },
    "columns": [
      { "fieldCode": "title", "width": 260 },
      { "fieldCode": "status", "width": 120 },
      { "fieldCode": "priority", "width": 120 },
      { "fieldCode": "assignee", "width": 160 },
      { "fieldCode": "due_date", "width": 140 }
    ]
  }
}Validate and publish
Use the CLI whenever possible:
aura plugin validate plugins/my-plugin
aura plugin publish plugins/my-plugin --yesValidation should catch schema drift, missing references, invalid command codes, menu permission mismatches, and missing resource files.
Verification checklist
After publishing a plugin:
- Confirm the plugin appears in the plugin list.
- Confirm menus appear for the target role.
- Open the list page from the menu, not only by URL.
- Create a record through the generated form.
- Edit the record.
- Check permissions with a non-admin role.
- Review backend logs for import warnings.
When to add code
Add backend extensions when you need:
- Custom command handler logic
- Event listeners
- External API integration
- Complex validation not expressible as config
Add frontend extensions when you need:
- A specialized visualization
- A custom editor
- A custom dashboard block
- A non-standard workflow surface
Keep the default path config-first. It is easier to validate, review, and upgrade.