Page Designer
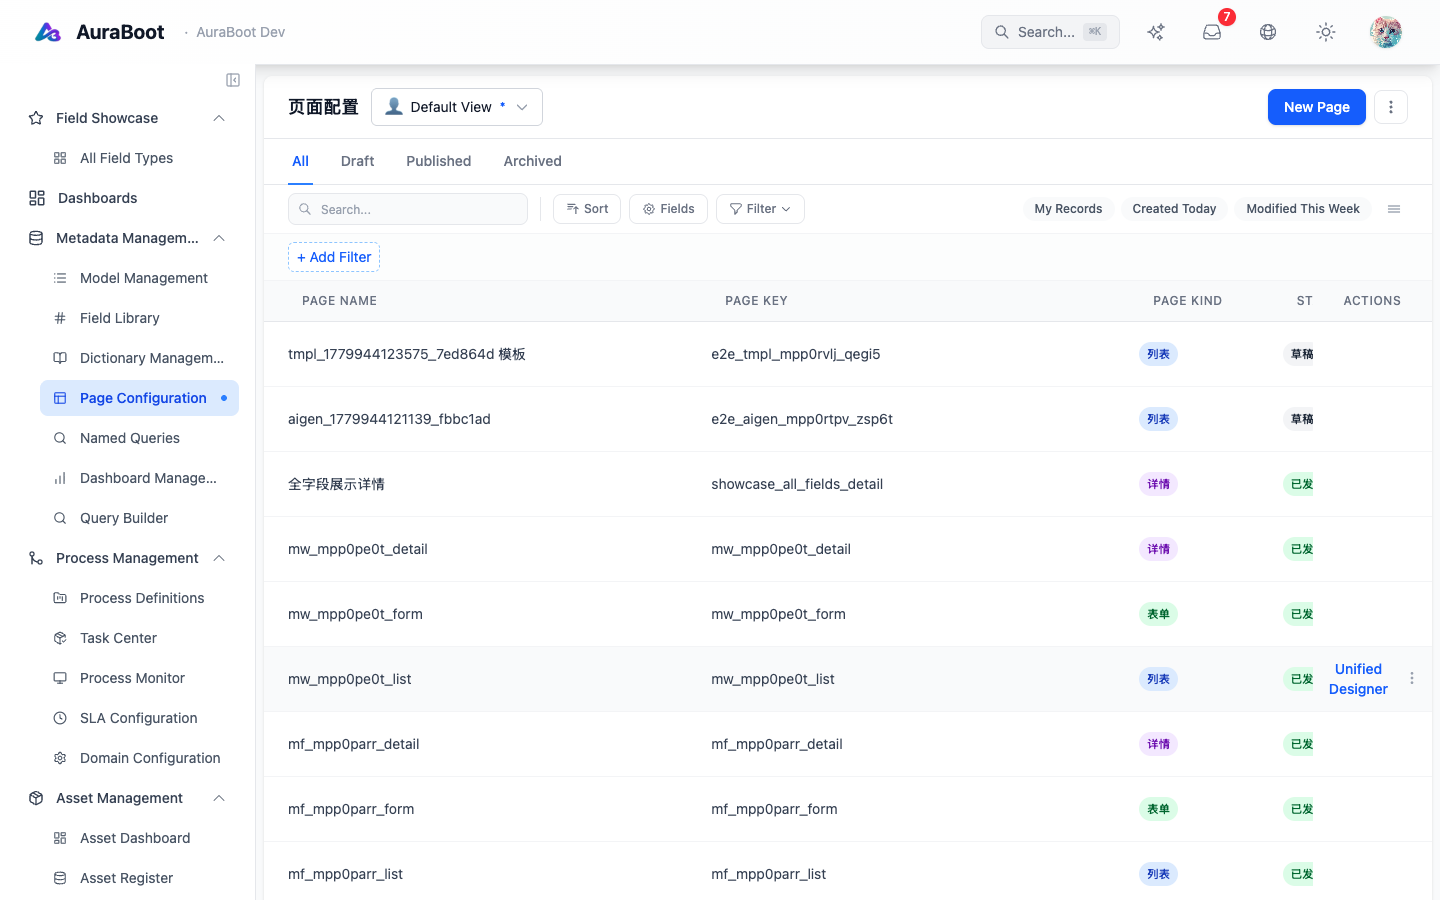
The Page Designer is AuraBoot's visual page builder. It lets you create list pages, forms, detail views, and dashboards by dragging and dropping blocks onto a canvas -- no JSON editing required. Every change in the designer produces standard DSL JSON that can be exported, version-controlled, and deployed.
Place in the Designer System
Page Designer is the primary designer for transactional application screens. Use it for CRUD pages, filters, toolbars, form sections, and detail layouts. Use the other designers for specialized outputs:
| Need | Use |
|---|---|
| Operational charts and KPI boards | Dashboard Designer |
| Approval and orchestration flows | BPMN Designer |
| Reusable graph-based editors | Flow Designer |
| Shared analytics queries | Query Builder |
| Printable/export reports | Report Designer |
Opening the Designer
Navigate to Meta > Pages in the sidebar, then click New Page or edit an existing page. The designer opens in a full-screen workspace with three panels:
| Panel | Location | Purpose |
|---|---|---|
| Block Palette | Left sidebar | Available block types to drag onto the canvas |
| Canvas | Center | Live preview of the page layout |
| Properties | Right sidebar | Configuration for the selected block |
Block Types
Drag any of these blocks onto your canvas:
| Block | Description | Available On |
|---|---|---|
| Form Section | Grouped input fields in a 1-4 column grid | Form, Detail |
| Sub-Table | Related records displayed in a child table | Detail |
| Stat Card | Single KPI metric with optional comparison | Dashboard |
| Chart | Bar, line, pie, area, or funnel chart | Dashboard |
| Rich Text | Static content block with formatting | Any |
| Timeline | Chronological activity feed | Detail |
| Tab Group | Organize blocks into tabbed sections | Detail, Dashboard |
| Columns | Table columns configuration | List |
| Filters | Search and filter bar | List |
Building a List Page
- Create a new page and set the Page Type to
list - Select the Model (e.g.,
crm_lead) - In the Columns panel, drag fields from the model to define visible columns
- Set column widths and sort order
- Add Toolbar Actions (e.g., a "New Lead" button linked to the create command)
- Optionally add Tabs for status-based filtering (e.g., All / New / Qualified / Lost)
- Configure Search Fields to enable keyword search across specific columns
Building a Form Page
- Set Page Type to
formand select your model - Drag Form Section blocks onto the canvas
- Drag fields from the model into each section
- Configure section titles, column count (1-4), and field ordering
- Set field-level overrides: required, readonly, placeholder text
- The form automatically wires to the model's create/update commands
Building a Dashboard
- Set Page Type to
dashboard - Drag Stat Card blocks for key metrics (total leads, conversion rate, revenue)
- Each stat card binds to a Data Source -- a named query that returns aggregated data
- Add Chart blocks and configure the chart type, data source, and axis mappings
- Use Tab Group blocks to organize charts by category
Configuring Data Sources
Charts and stat cards pull data from Data Sources -- named SQL queries registered in the DSL:
{
  "code": "crm_leads_by_status",
  "name": "Leads by Status",
  "query": "SELECT status, COUNT(*) as count FROM mt_crm_lead GROUP BY status",
  "parameters": []
}In the designer, select a chart block, then choose the data source from the dropdown. Map the query result columns to the chart axes.
Preview and Publish
- Preview -- Click the preview button to see the page as end users will see it, with real data from the database
- Save -- Saves the page schema as a draft. It is visible in the designer but not yet live
- Publish -- Makes the page available at its configured route. Updates take effect immediately
Export as DSL JSON
Every page created in the designer can be exported to JSON for inclusion in a plugin:
- Open the page in the designer
- Click Export in the toolbar
- Save the JSON file to your plugin's
pages/directory
This enables a workflow where you design pages visually, export them, commit to Git, and deploy via the plugin system.
Next Steps
- Designer Overview — Compare all OSS designers
- Pages and Layouts — Understand page schema structure
- Plugin Development — Package pages into plugins
- Models and Fields — Define the data your pages display